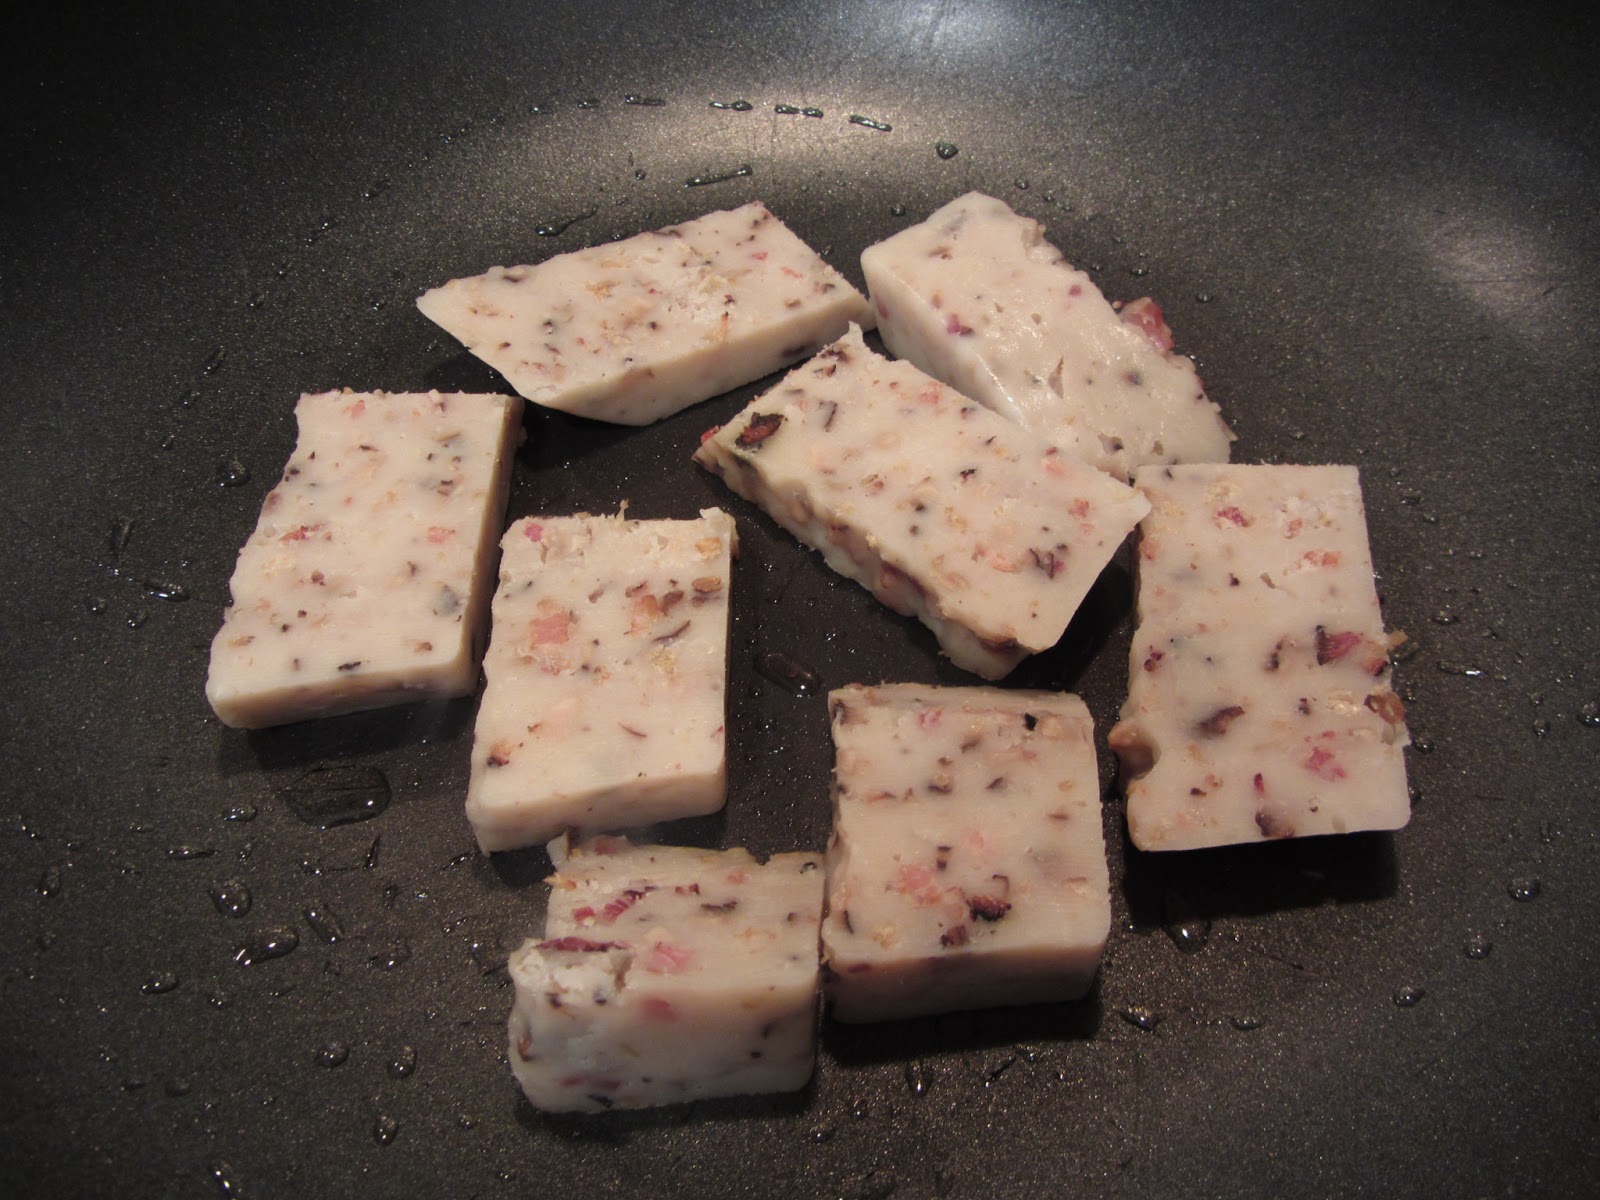
With the Lunar New Year approaching, I am reminded of my family's yearly tradition. Each year, my grandmother (and now my aunt) spend hours preparing Lo Baat Gao (daikon radish cake) and Nien Gao (a sweet steamed rice cake). So I decided to look up the recipe for radish cake and make some at home since we'll be so far from family for the holidays.
So I found a great sounding recipe at Epicurious.com which I will relay here for you all, along with some small tweaks and things I learned along the way.
Ingredients:
~200g of Chinese bacon (the less fatty the better since you really want that meaty taste!)
1 large Chinese radish @ about 2lbs
8 Chinese dried mushrooms
1/2 cup Chinese dried shrimp (the small kind)
2 teaspoons rice cooking wine
1 teaspoon sugar
2 cups rice flour (non glutinous)
Salt or soy sauce to taste
Recipe:
1. Rinse and soak (at least 1/2 hour) the dried mushrooms and shrimp in
separate bowls (~1/2 cup) liquid each bowl. After that you can mince
these finely and set the water aside for later. At this time you can
shred your radish into a large cooking pot.
2. In a steamer, steam your bacon for ~15-20 minutes then remove most of the fat (but not all) and mince it up.
3. In tandem you can also begin cooking down your shredded radish in
about 4 cups of water. It takes 15-30 minutes depending on how tender
you want your radish to be. Drain after but reserve the liquid.
4. In a large wok over medium heat, cook your minced bacon for a few minutes or until it begins to brown. Add your shrimp and mushrooms along with your rice wine, some salt, and soy sauce to taste. Ideally the bacon, shrimp and mushrooms will add a lot of taste to the radish cake. Remove from heat.
5. Drain the cooked radish and add into the wok and combine with your other ingredients.
6. In a separate bowl, mix your rice flour and, mushroom juice, shrimp juice, and 1 cup radish juice. [Aside: the Epicurious recipe says that the batter should look like rice pudding but I don't really eat that so I had no idea how thick it should be. I made it closer to pancake batter by adding about 3/4 more rice flour and a little more radish juice. In reality, this made the cake a little harder than I thought it should be. Instead, the batter should be like crepe batter, kinda thin to give you a softer texture of cake at the end! So, keep this 2:2 ratio as specified]
7. Mix the batter and radish mixture, add a little more salt for flavour and steam for about 30-60 minutes. You want the water at a slow rolling boil rather than furious one. You'll also want to do it in a good steamer where cooled steam won't drip down on your cake but that can be hard to manage. If anything, try to use a domed lid on a pot wide enough to let the cooling water drip down the sides and back into the pot, and NOT onto your cooking cake. You can also try propping the lid up on some wooden chopsticks/spacers to let more of the steam escape.
8. Let it cool down after the cake is spongy/hardened. Pop in the fridge for a few hours and then when you're ready, cut into 1cm thick slices to fry up and eat. Don't forget to add some Oyster Flavour Sauce, but the cake should be salty enough on its own :)
Update: I've made this recipe twice now (once every Chinese New Year's) and it's been enjoyable each time. I had the luck of some snow the second time around, which allowed me to cool it out on our balcony!


No comments:
Post a Comment